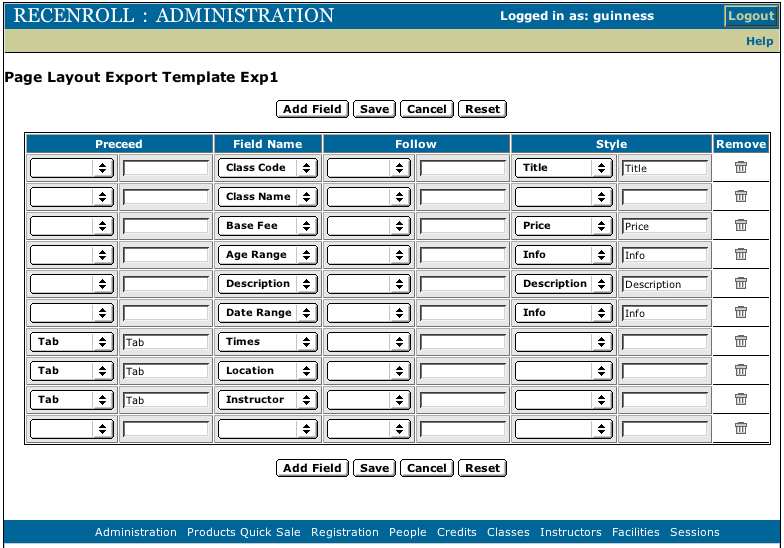
In the editing screen you will see rows matching the fields you have chosen to include. For each of these
fields you may now add the tags to format the text for your chosen export type.
First order the fields as you would like them to appear by using the pull-down list in each row to determine
which field should appear there.
To the left of the field name is the Preceed section. Using the pull-down list select the formatting option
for that field. If you know the correct tag you would like to use, but don't see it in the list, you may enter
it in the entry area for that field.
To the right of the field name is the Follow section. Using the pull-down list select the formatting option for
this field. Remember to close whatever formatting option needs to be closed in the Preceed section.
If you want to add an additional field to the template, click the Add Field Top/Bottom button. You will be asked what field you would like to add. Select the appropriate field from the pull-down and click submit. This new field may be manipulated the same as the others.
When all of the layout changes have been made, click the Save button to store the template in the system, or the Cancel button to exit without saving any changes. Note: You may only save changes if you are working with an existing template. Clicking Cancel in a new template will act as a save.
To edit an existing template, click on the name of the template in the list. You will be taken to the editing screen for that template. Proceed as above to make the needed changes.